To make a good-looking form, we should add an impressive thank you message with an image that shows the good ending of the form-filling process. Google Forms does not provide options to customize the Thank You page or Response Confirmation page. But you can customize all these by using the Pretty Forms Designer Addon on your Google form. In Pretty Forms Designer, you can add the Confirmation Message in HTML, apply styles to the message text, or add images to the thank you page.

Prerequisite: Install & Setup Pretty Forms Designer Addon on your Google form, if not already done. Then open the Pretty Form Designer.
Please follow the below steps to Customize the Confirmation Message with the image in Google Forms:
- Open the “Confirmation Page” in the form designer.

- Select Confirmation Message, and change its style from the top toolbar, e.g. Align it to Center.


- Select the “Confirmation Message Container” and add the "Image Box" control & "Html Content" control under the “Confirmation Message Container” if required. And arrange them by using the move up & move down options.

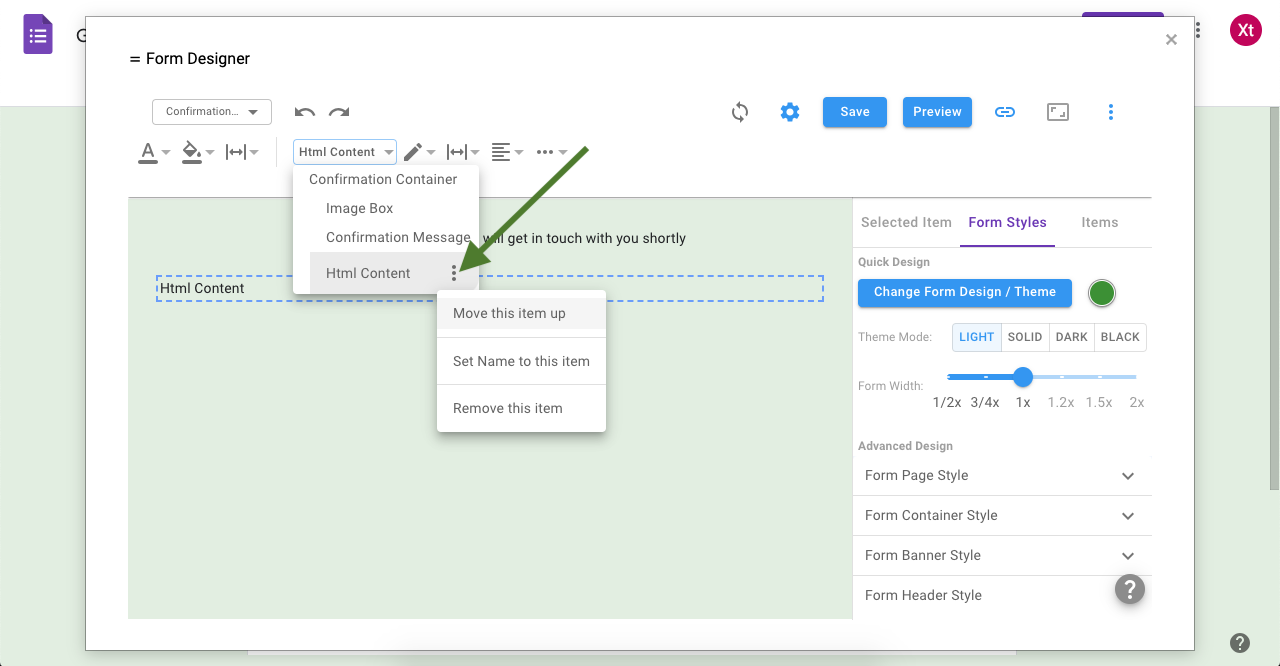
- Write in the “Html Content” control, for example, we wrote “Thank You”, aligned it center & changed its font styles.


- Select the “Image Box” control from the structure, and add an image URL or you can use the “Choose Form Image” button to use an image from your Google Form. Add styles to the image box e.g. add a margin to the image box.


By using the above method, you can add any controls in the “Thank You” page for the customization.